

I made a simple loom with a thin piece of cardboard. This is the bottom of a shoe box but I think a cereal box would work well for a slightly larger loom. I wanted to keep it small so we could finish before her 5 yr old engine ran out of steam. I glued thin strips of the same cardboard to the top and bottom to help lift the yarn off the backing but I don't think that was completely necessary, especially if you keep the yarn loose.
Then I cut notches on the top and bottom and wound the base (warp?) yarn around those notches and taped it to the back at the beginning and the end. It probably would have been helpful to take a picture of that but I didn't.
Then I tied on the fun (weft?) yarn on to the top, added a piece of tape to create an easy to find and hard to unravel end and off Lucy went. We had done a simple paper weaving project a few days earlier so I could illustrate the over/under concept. Even so, I was worried that it would be confusing for her in the yarn since its a lot harder to see but she didn't have any issues.
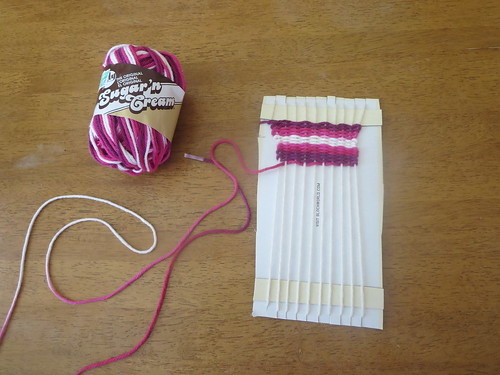
I used this particular yarn because it was leftover from my stash and she loves pink but it turned out to be a really fun choice since it created stripes without the need to switch colors. And she started estimating how many stripes of one color it would be before the next color came which added in a bit of math fun.
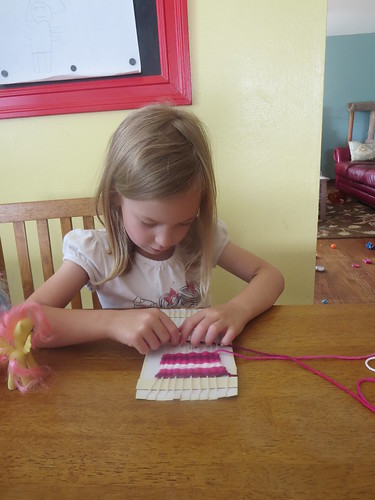
The only things I needed to help her once she got started was pushing up the yarn to keep it snug, keeping the outer bands loose (the tendency is to pull to tight and the project gets narrower) and tie a new piece of yarn if she ran out. With 10 notches, she was always starting a row with an "over" and she quickly learned this but if she did accidentally start with an "under" it just undid the last row and she started again. No biggie.
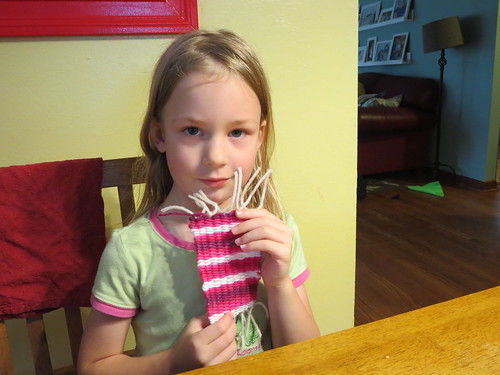
When she reached the end, I cut the back strips and tied them together in groups of two and using a yarn needle, tucked any extra side pieces of yarn (from adding new weft yarn) in. Then she trimmed them to the length she wanted. And despite the picture above, she was really pleased with the result and begged me to take her picture! This was just after a long afternoon of swimming and she's already in pajamas here but she was determine to finish before bedtime despite to being exhausted.
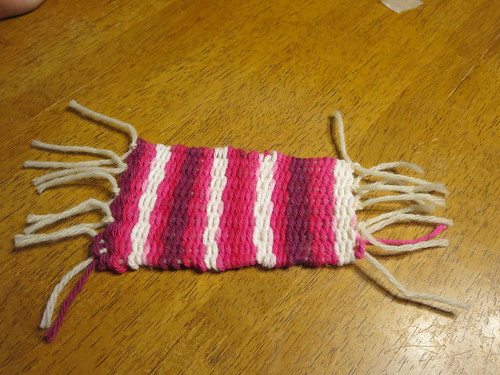
I think she did a great job. It took about 5 sessions over 3 days. While that is pretty quick, this is really the first project she's done that really had to stop and come back to so many times and I'm proud of her for sticking with it. Goodness knows I don't always do that with my handicrafts! So overall, I think its a great beginning handicraft.

And the result makes a perfect blanket for a pony in a magna-tile castle!

No comments :
Post a Comment